Assessment Builder
12. Assessment Builder
Assessment Builder feature allows users to create and manage new assessments in the My Risk Assessor app. With the Assessment Builder feature, users have the ability to perform tasks such as creating new assessment profiles, providing relevant information about the assessments, and managing their interactions within the app. This feature helps users organize and keep track of assessments more effectively.
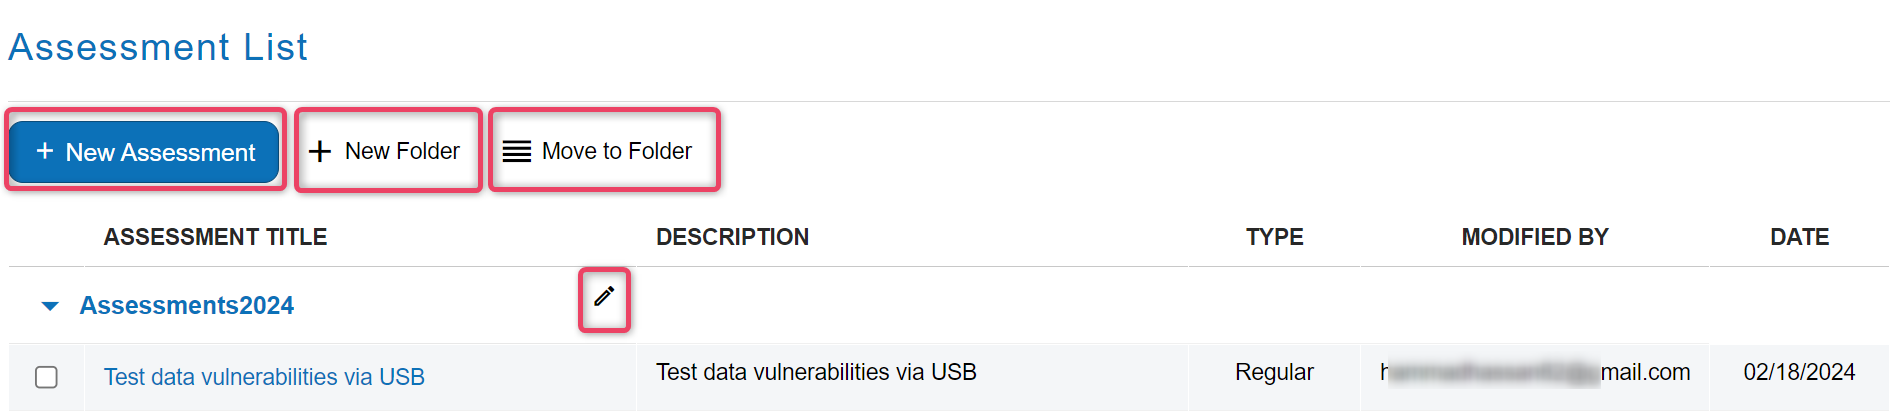
- From the Assessment module, click New Assessment to view the screen shown below.
Note
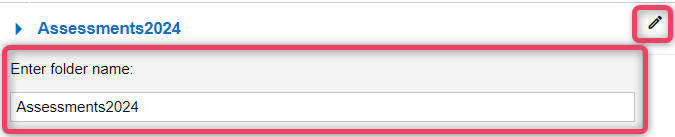
- You can edit the Assessment List Folder name from the listing screen. Simply click the Edit (Pencil) icon and enter teh new name of teh folder in the screen shown.
New Assessment
-
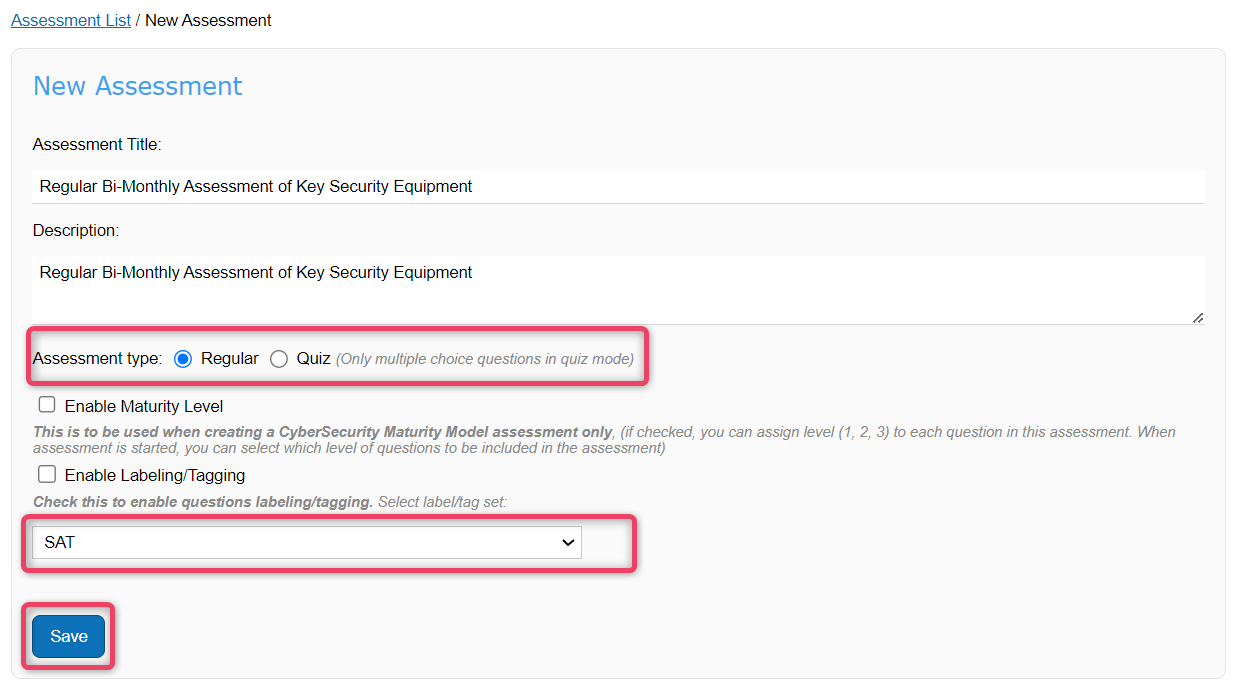
Click New Assessment button from the top action bar, to open a new screen as shown.
-
To create a assessment list, fill in the relevant information against Assessment Title, Assessment Description, Assessment Type, Enable Maturity Level, Enable Labeling/ Tagging.
-
Click the Save button to save the record and navigate to the Question Builder screen as shown below.
New Folder
-
To create a new folder, click the New Folder button to view the screen shown below.
-
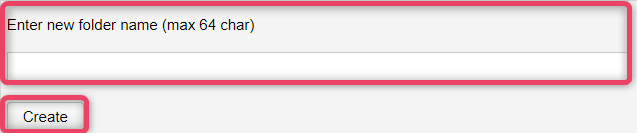
Enter the name of the folder and click Create to create the new folder.
Note
- Folder name can be up to a maximum of 64 characters.
Move to Folder
-
To move an Assessment List to a different folder, click the Move to Folder button to view the screen shown below.
-
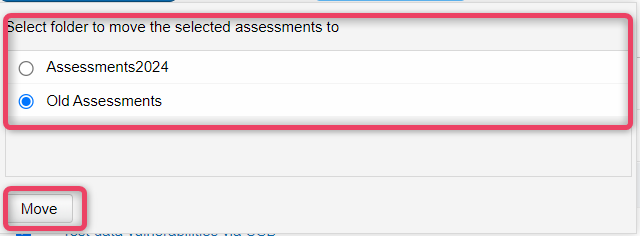
Select the destination folder and click Move to move the selected Assessment List to the target folder.
12.1 Assessment Title Segment
-
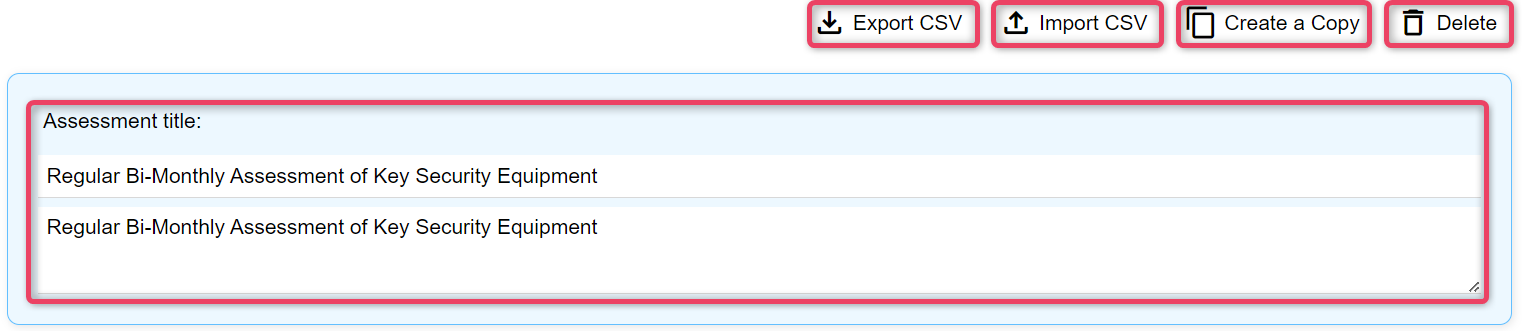
The Assessment title segment, allows users to edit the Assessment Title and also provides Export CSV, Import CSV, Copy and Delete utility functions.
Export CSV
- To export the current Assessment List in CSV format, click the Export CSV button.
- Select a place to download the file.
Import CSV
-
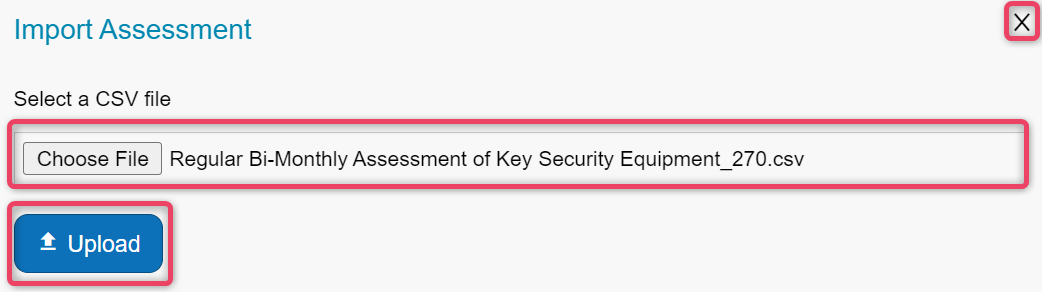
To import a Assessment List click the Import CSV button to view the screen shown below.
-
Select the import file and click the Upload button.
- The system will import all Assessments into the current Assessment List.
- To close without saving any changes, click the X button.
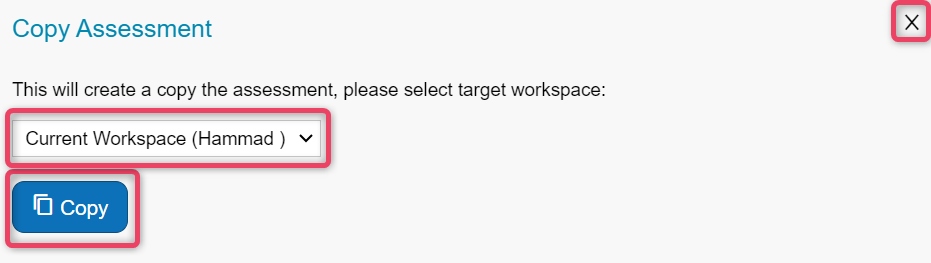
Copy Assessment
-
To copy an assessment to another workspace, click the Copy button to view the screen shown below.
-
Select the workspace to copy the assessment and click the Copy button.
- The system will copy all Assessments into the selected workspace.
- To close without saving any changes, click the X button.
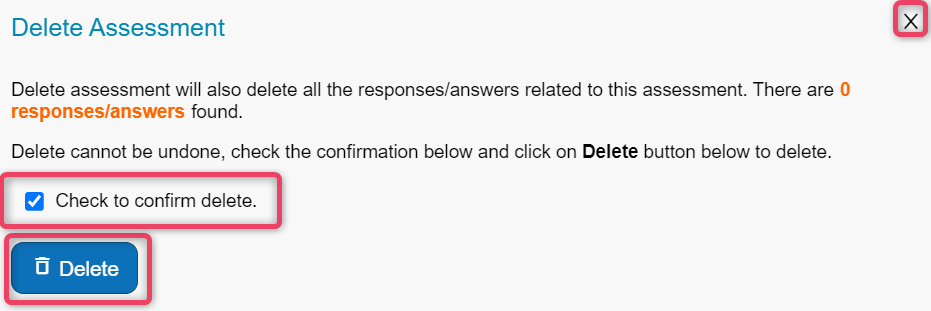
Delete Assessment
-
To delete an assessment List, click the Delete button to view the screen shown below.
-
Select the option to confirm delete.
- To close without saving any changes, click the X button.
Important
- You cannot undo the delete action.
12.2 Assessment Info Segment
-
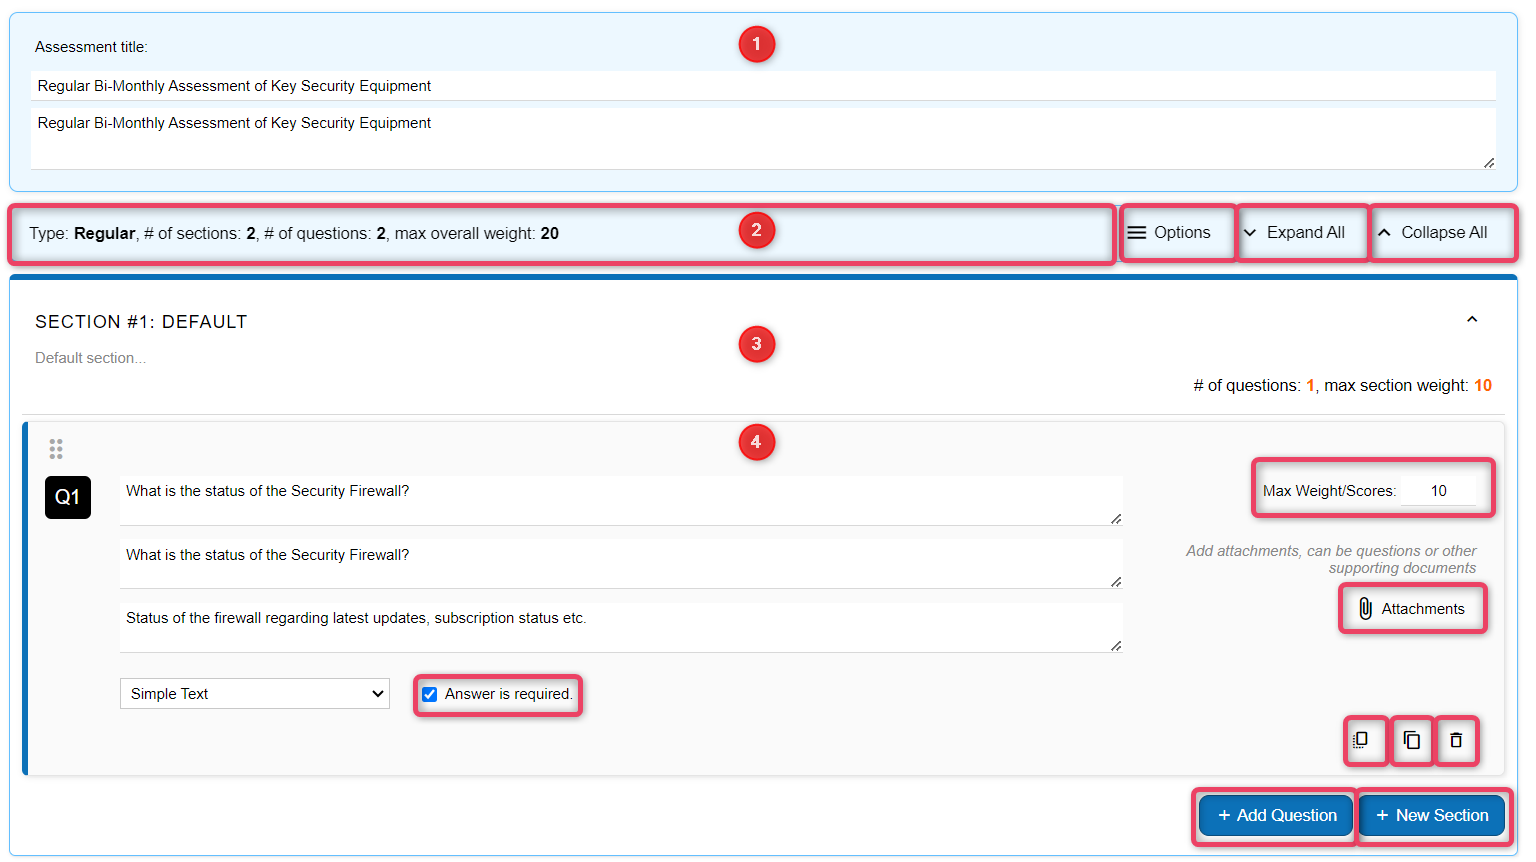
The Assessment Info segment is a utility summary bar that displays the overall summary of the Assessment. It also allows Options, Expand All and Collapse All utility functions.

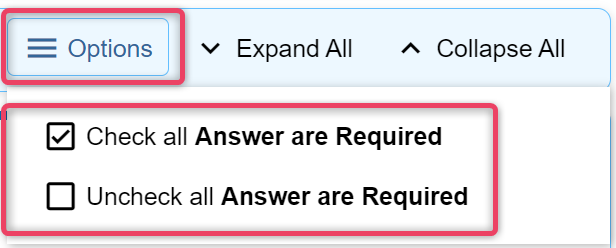
Options
-
Click the Options button to view quick action options as shown below.
-
To mark all answers as mandatory, select the Check All Answers are Required.
- To mark all answers as not-mandatory, select the Uncheck All Answers are Required.
Expand All
- To expand all questions in all sections click the Expand All button.
Collapse All
- To collapse all questions in all sections click the Collapse All button.
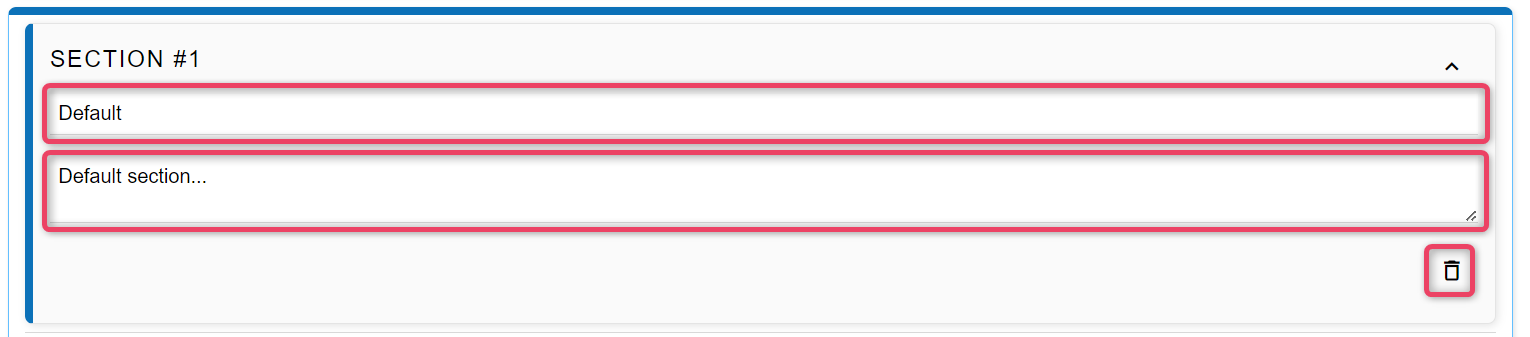
12.3 Question/Quiz Title Segment
-
The Question/Quiz title segment displays the title and description of the section, section summary and also provides options to edit the details or delete the section.

-
To expand / collapse a section, click the arrow button.
-
To edit the title or description of the section, click the section heading to view the screen as shown below.
-
Edit the title or description as per need.
-
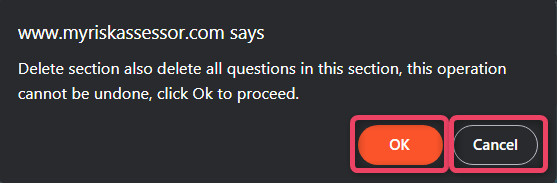
To delete the section and all questions included in the section, click the Delete icon. The system will show a confirmation dialog as shown below.
-
To confirm delete, click the OK button.
- To close without any change, click the Cancel button.
Important
- You cannot undo the delete action.
12.4 Question/Quiz Segment
-
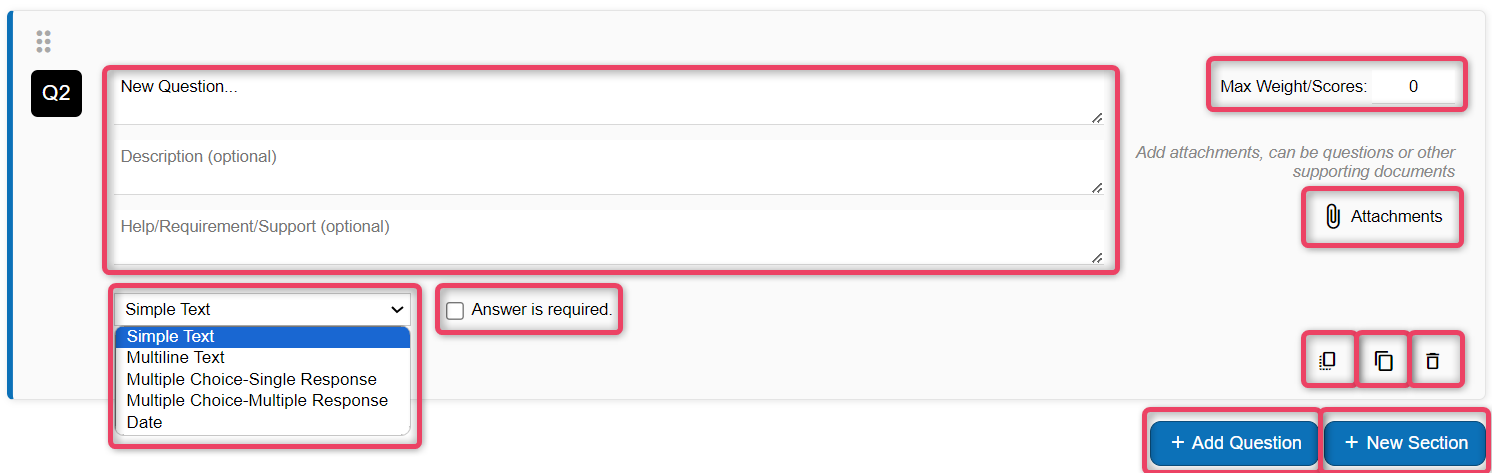
The Question/Quiz segment gives options to add/update a question/quiz, specify question/quiz score and also has options to add new question or a new section.
Edit Title and Descriptions
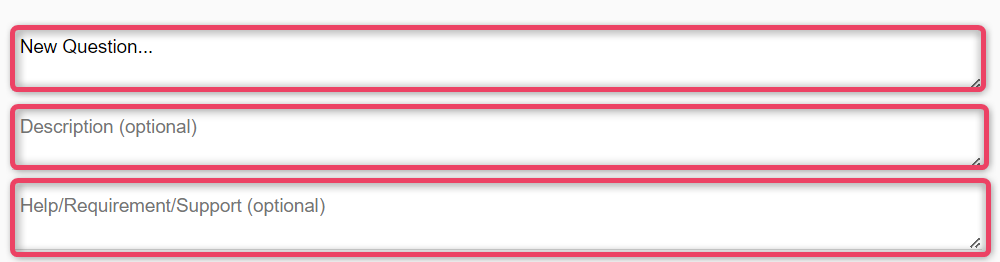
- Edit appropriate values in the Question Title, Description and the optional Help/Requirement/Support fields.
Information
- Description and Help/Requirement/Support are optional but recommended for better readability and clarity.
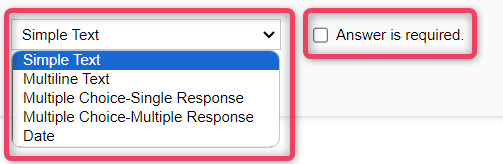
Answer Type Options
-
You can specify what values are allowed while submitting and answer. You can also set whether or not the answer to this question is mandatory or not by selecting correct values of the Answer is required checkbox.
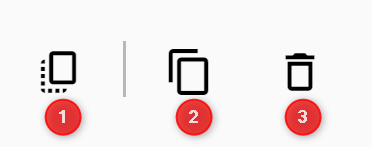
Action Buttons
-
The section allows to perform the following utility actions.
- Copy Options/Weights
- Duplicate Question
- Delete Question
- Add Attachments
- Add Question
- Add Section
-
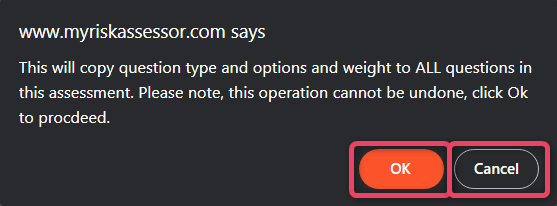
1.Click the Copy Options/Weights icon to copy the weights and answer options to all the questions. The system will show a confirmation dialog as shown below.
-
2.Click the Duplicate icon to create a copy of the current question.
-
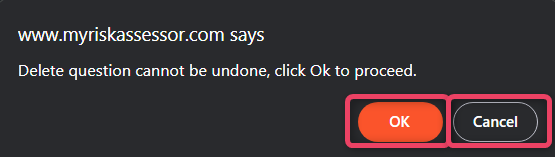
3.Click the Delete icon to delete the selected question. The system will show a confirmation dialog as shown below.
-
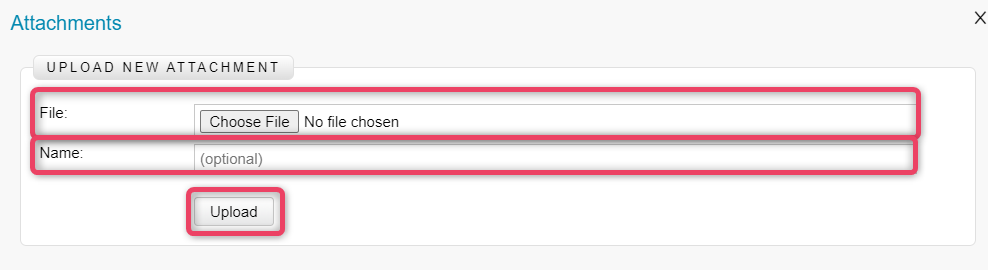
4.Click the Attachment icon to attach documents to the selected question. The system will show a confirmation dialog as shown below. Choose the file(s) and click the Upload button to attach the file(s) to the question.
-
5.Click the Add Question button add a new question to this section. The system will add another question and will shift the focus to the new question automatically to assist data entry.
-
6.Click the Add Section button add a new section to the Assessment List. In the new section you can then add further questions as per requirement.