New Threat Library
6. New Threat Library
New Threat Library feature allows users to create and manage new threat libraries in the My Risk Assessor app. With the New Threat Library feature, users have the ability to create specific threat libraries and can associate related threats, vulnerabilities, and controls with ease. This feature helps users organize and keep track of threats more effectively.
- From the MyAssets module, click New Threat Library to view the screen shown below.
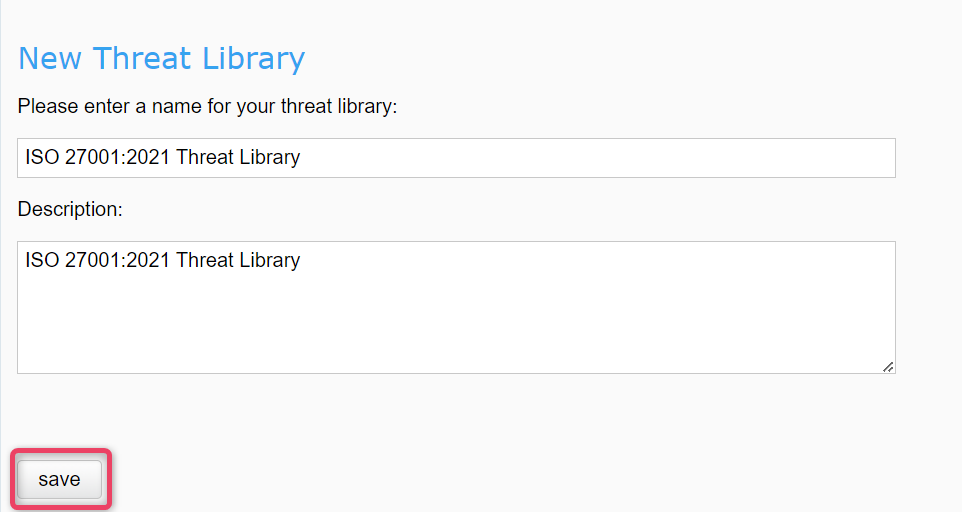
- Enter the Threat library name and some adequate description.
- Click Save to create a library and move to the next screen.
Note
- You can edit the Threat Library name from the listing screen as well by selecting the Threat LIbrary and do a Right Click and choose Rename
6.1 New Threat Group
-
Select the newly created Threat Library and select the New Threat Group button, as shown below.

-
Click New Threat Group button from the top action bar (shown above), to open a new screen as shown.

-
Fill in the Title Tag to rename the Threat group.
6.2 New Threat
-
Select the newly created Threat Group and select the New Threat button, as shown below.

-
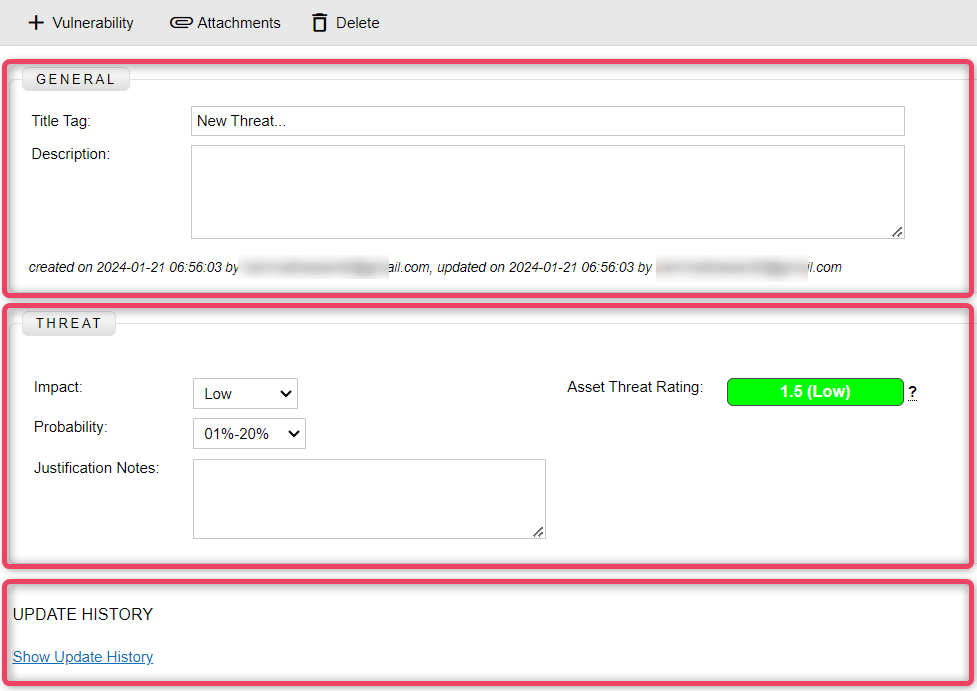
Click New Threat button from the top action bar (shown above), to open a new screen as shown.
-
In the General section, enter appropriate title tag and description.
- In the Threat section, enter appropriate values in Impact, Probability and Justification Notes.
- To view change history, click the Show Update History button.
6.3 New Vulnerability
-
Select the newly created Threat and select the New Vulnerability button, as shown below.

-
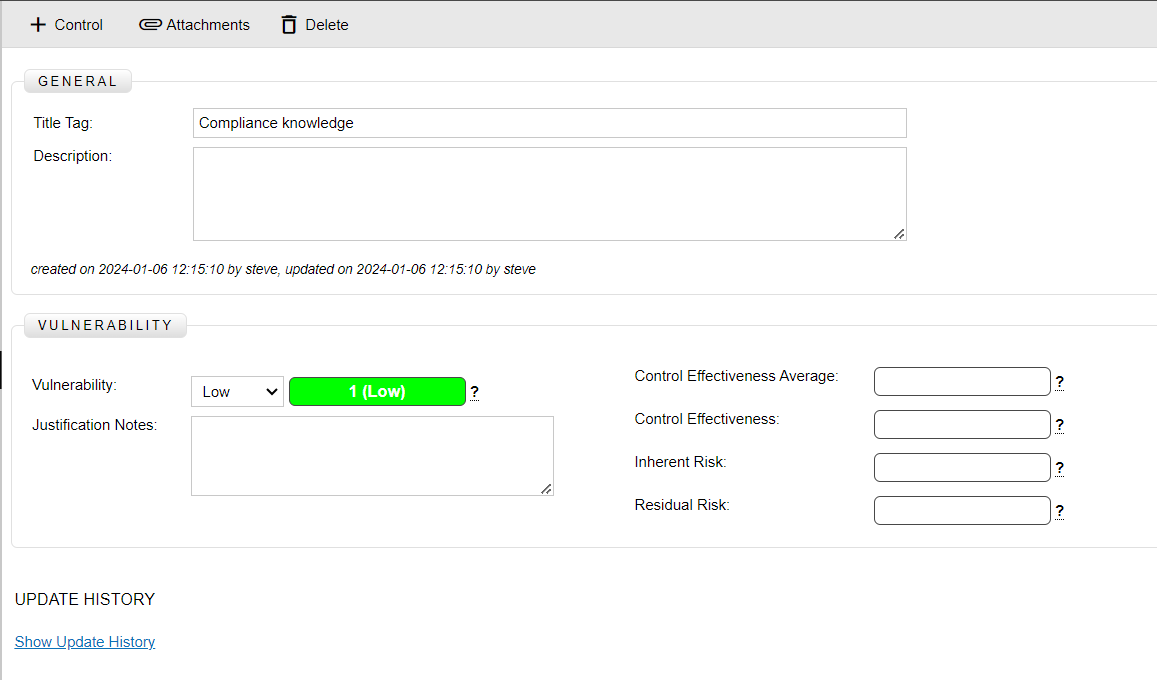
Click New Vulnerability button from the top action bar (shown above), to open a new screen as shown.
-
In the General section, enter appropriate title tag and description.
-
In the Vulnerability section, enter appropriate Vulnerability, Justification Notes, Control Effectiveness Average, Control Effectiveness, Inherent Risk and Residual Risk values.
-
To view change history, click the Show Update History button.
6.4 New Control
-
Select the newly created Vulnerability and select the New Control button, as shown below.

-
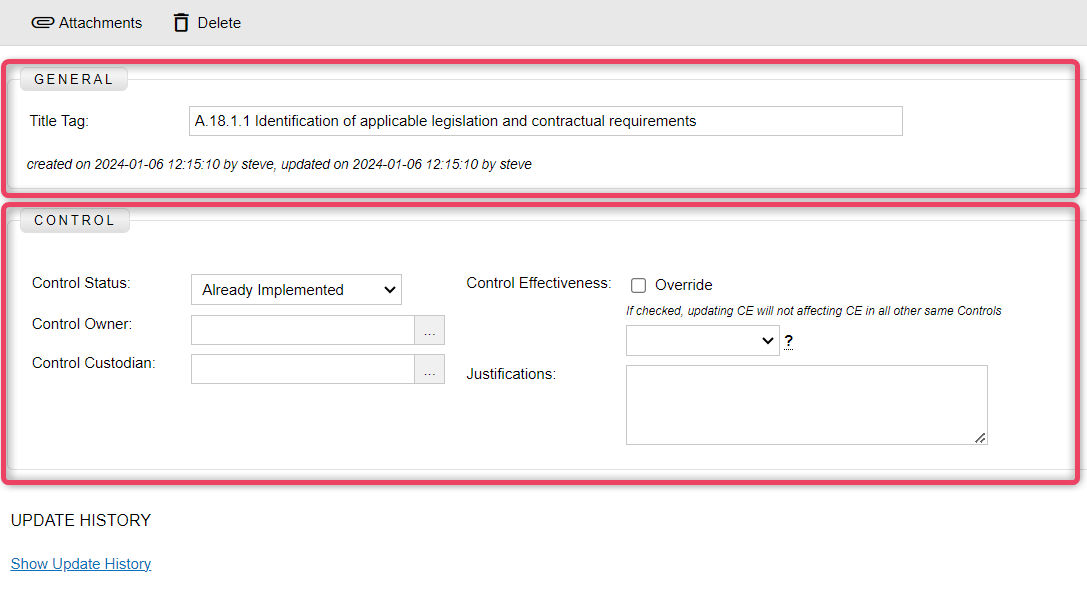
Click New Control button from the top action bar (shown above), to open a new screen as shown.
-
In the General section, enter appropriate title tag and description.
-
In the Control section, enter appropriate Control Status, Control Owner, Control Custodian, Control Effectiveness and Justification values.
-
To view change history, click the Show Update History button.