New DPIA Risk Library
26. New DPIA Risk Library
New DPIA Risk Library feature allows users to create and manage new DPIA in the My Risk Assessor app. With the New DPIA Risk Library feature, users have the ability to perform tasks such as creating new DPIA Risk Library profiles, providing relevant information, and managing their interactions within the app. This feature helps users organize and keep track of DPIA Risk Library more effectively.
- From the My DPIA module, click New DPIA Risk Library to view the screen shown below.
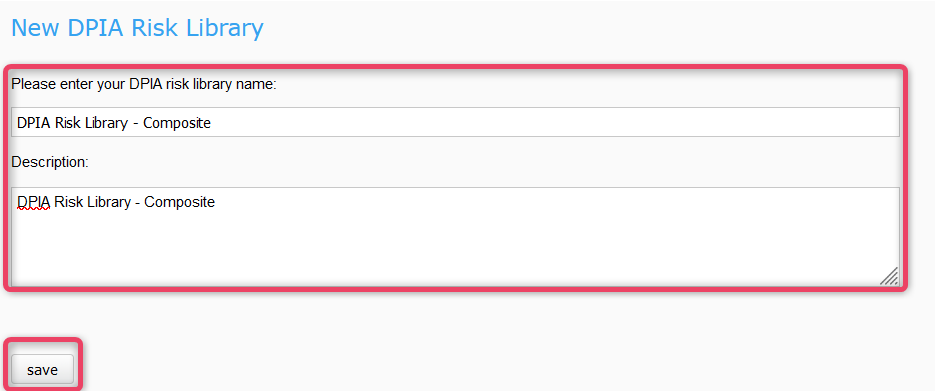
- Enter the DPIA list name and some adequate description.
- Click Save to create DPIA Risk Library record and move to the next screen as shown below.

26.1. Action Bar
- The action bar provides a available actions against the item selected from the Navigation bar.
Action Bars shown If an DPIA Risk Library Project is selected from the Navigation bar

Action Bars shown If an Risk Group is selected from the Navigation bar

26.2.1 Edit
-
The edit action allows to edit the information of the DPIA list. Click the Edit button to view the screen shown below.
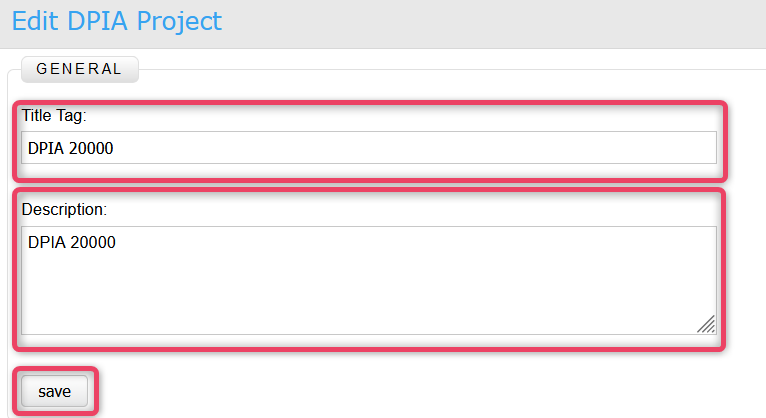
-
Update the information as needed and once done, to save the changes and return to the previous screen.
26.4.2 Copy
-
The copy action allows to copy the whole tree to a new or currency workspace. Click the Copy button to view the screen shown below.
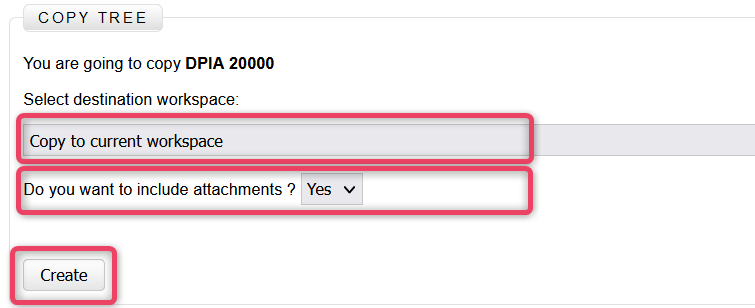
-
Select the destination work space and choose whether or not to copy attachments by making correct selections.
- Click the Create button to save the changes and return to the previous screen.
26.4.3 Attachment
-
The attachment action allows to attach documents to the DPIA. Click the Attachment button to view the screen shown below.
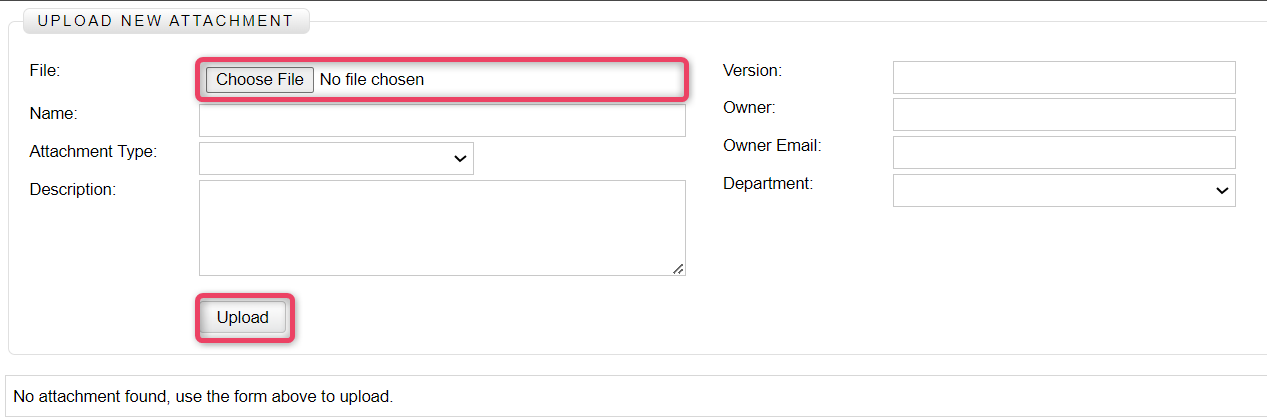
-
Select the file to upload as attachment and fill-in the other information.
- Click the Upload button to save the changes and return to the previous screen.
26.4.4 Delete
-
The delete action allows to delete the the whole tree. Click the Delete button to view the screen shown below.
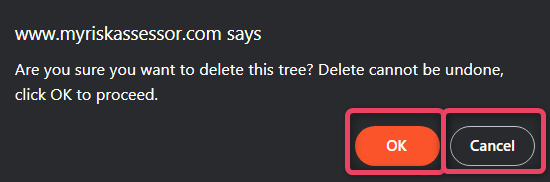
Important
- The delete action cannot be undone.
- To delete click OK button, or click Cancel to close and return to the previous screen.
26.3. New Risk Group
-
Select the Risk Library from the navigation bar and click the New Risk Group button to view the screen shown below.

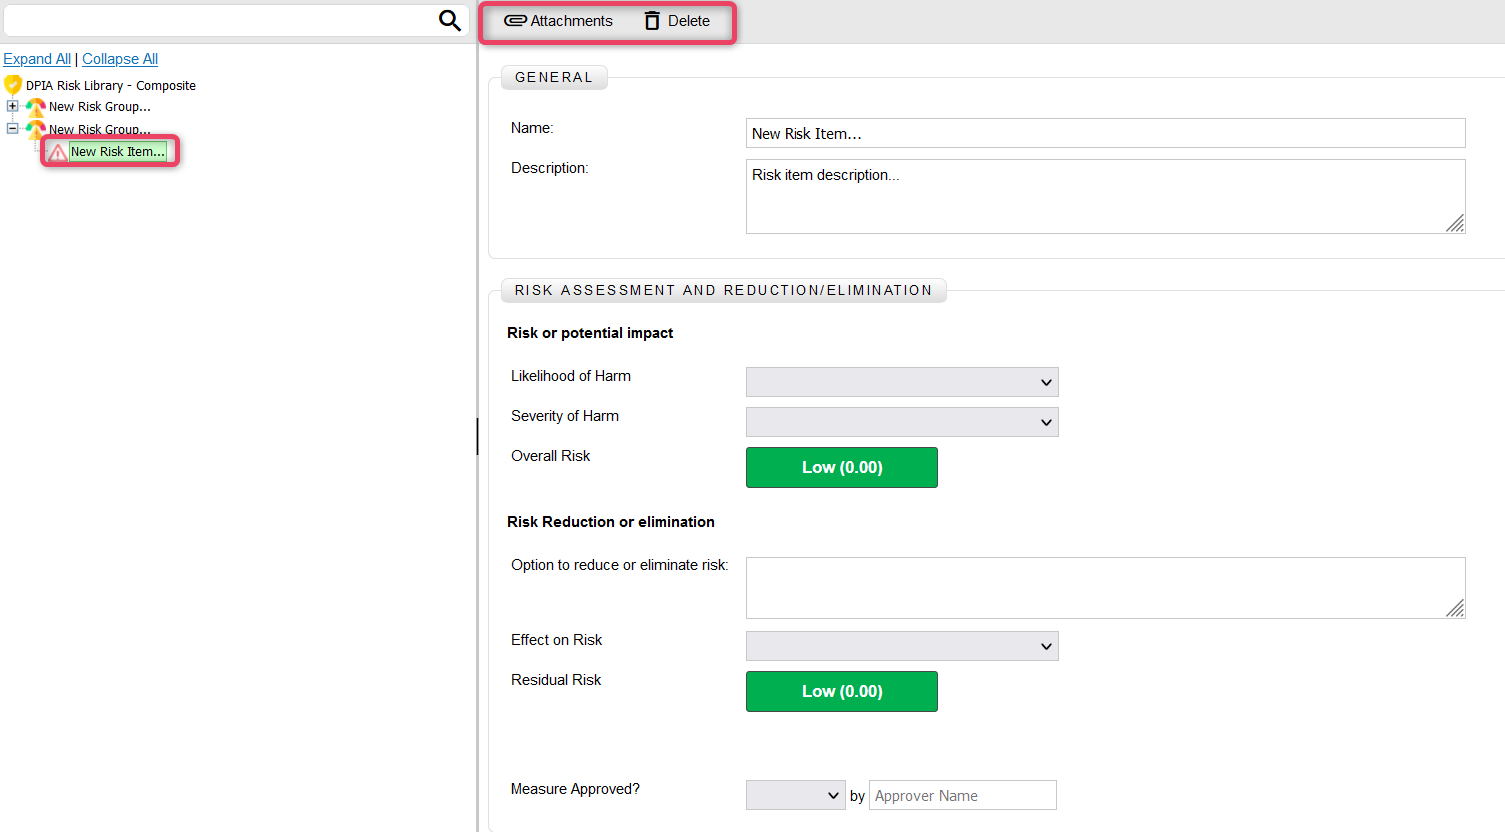
26.4. New Risk Item
-
Select the Risk Group from the navigation bar and click the New Risk Item button to view the screen shown below.