Open Planning for Change
33. Open Planning for Change
The Open Planning for Change feature lists all Planning for Change and allows users to view archive lists or normal lists by choosing the appropriate option from the Current Folder dropdown. Also, users can select and move any particular Planning for Change list to either archive or normal as per need. User can also click on a Planning for Change list to view details of the selected Planning for Change list.
-
Navigate to My Planning for Change and click the Open Planning for Change option to open a new screen as shown below.

-
To view archive list of Planning for Change, choose the archive option from from the Current Folder dropdown. The system will reload all the archive Planning for Change.
-
Select an Planning for Change list, and choose the option archive under the Move selected to dropdown, to move selected to archive.
-
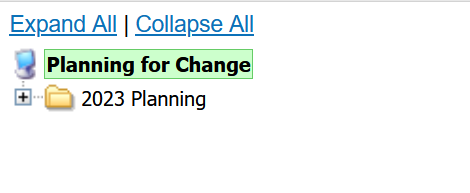
Click an Planning for Change list to view a detailed structure wise Planning for Change listing as shown below.

33.1 Search Bar
-
The search bar provides quick searching functions. To search records, simply type in the search phrase and click the the search button to filter the records accordingly.

-
If more than one results are found the search bar Incidents to the results bar as shown below.

-
To view the previously matched result, click the prev button.
- To view the next matched result, click the next button.
- To close the results bar and return to search bar, click the search again button.
33.2. Utility Bar
-
The utility bar provides quick viewing functions by enabling expand all, collapse all and filtration and searching options. Simply type in the search phrase and click the search button to filter the records accordingly.

-
To expand the list, click the Expand all button.
- To collapse the list to default view, click the collapse all button.
33.3. Navigation Bar
-
The navigation bar provides a hierarchial view of all Planning for Change Project, Planning for Change Groups and Planning for Change Items.
Note
- Please refer to utility bar for information on more options.
33.4. Action Bar
- The action bar provides a available actions against the item selected from the Navigation bar.
Action Bars shown If an Planning for Change Project is selected from the Navigation bar

Action Bars shown If an Group is selected from the Navigation bar

Action Bars shown If an Planning for Change Item is selected from the Navigation bar

Information
- For detailing on + New button option, please refer to New Planning for Change.
33.4.1 Edit
-
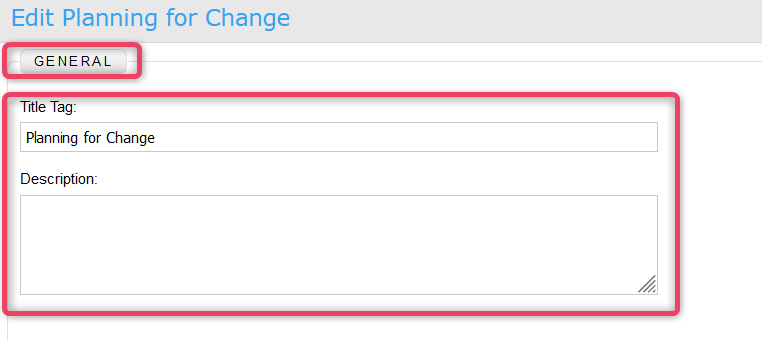
The edit action allows to edit the information of the Planning for Change list. Click the Edit button to view the screen shown below.
-
Update the information as needed and once done, to save the Incidents and return to the previous screen.
33.4.2 Copy
-
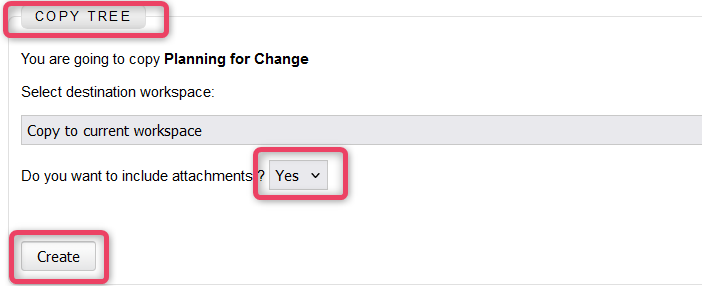
The copy action allows to copy the whole tree to a new or currency workspace. Click the Copy button to view the screen shown below.
-
Select the destination work space and choose whether or not to copy attachments by making correct selections.
- Click the Create button to save the Incidents and return to the previous screen.
33.4.3 Delete
-
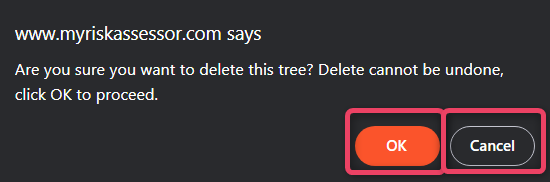
The delete action allows to delete the the whole tree. Click the Delete button to view the screen shown below.
Important
- The delete action cannot be undone.
- To delete click OK button, or click Cancel to close and return to the previous screen.
33.4.4 Attachment
-
The attachment action allows to attach documents to the Planning for Change. Click the Attachment button to view the screen shown below.
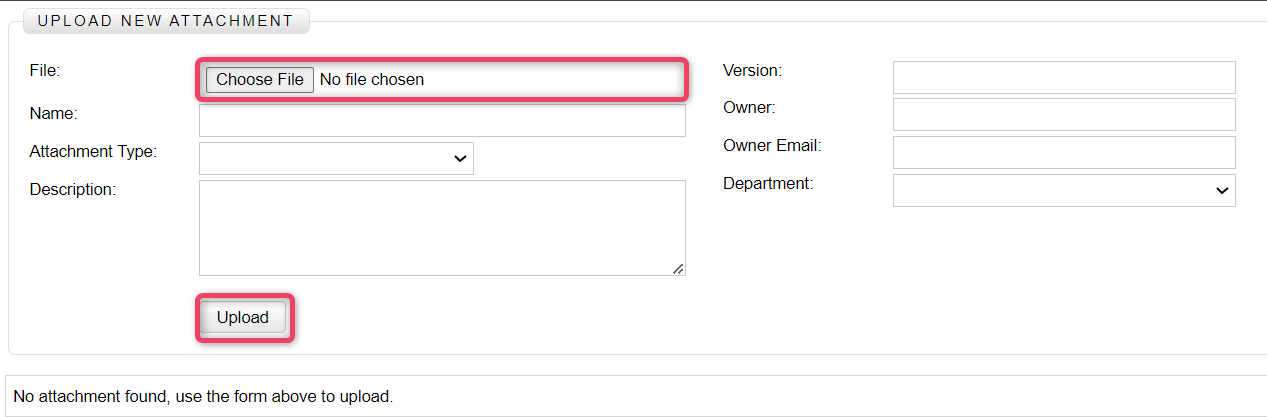
-
Select the file to upload as attachment and fill-in the other information.
- Click the Upload button to save the Incidents and return to the previous screen.
33.4.5 Assignment
-
The assignment action open the Assignment listing screen that allows to create a new assignment record or edit an existing one. Click the Assignment button to view the screen shown below.

-
Enter appropriate information as shown in the screen below.
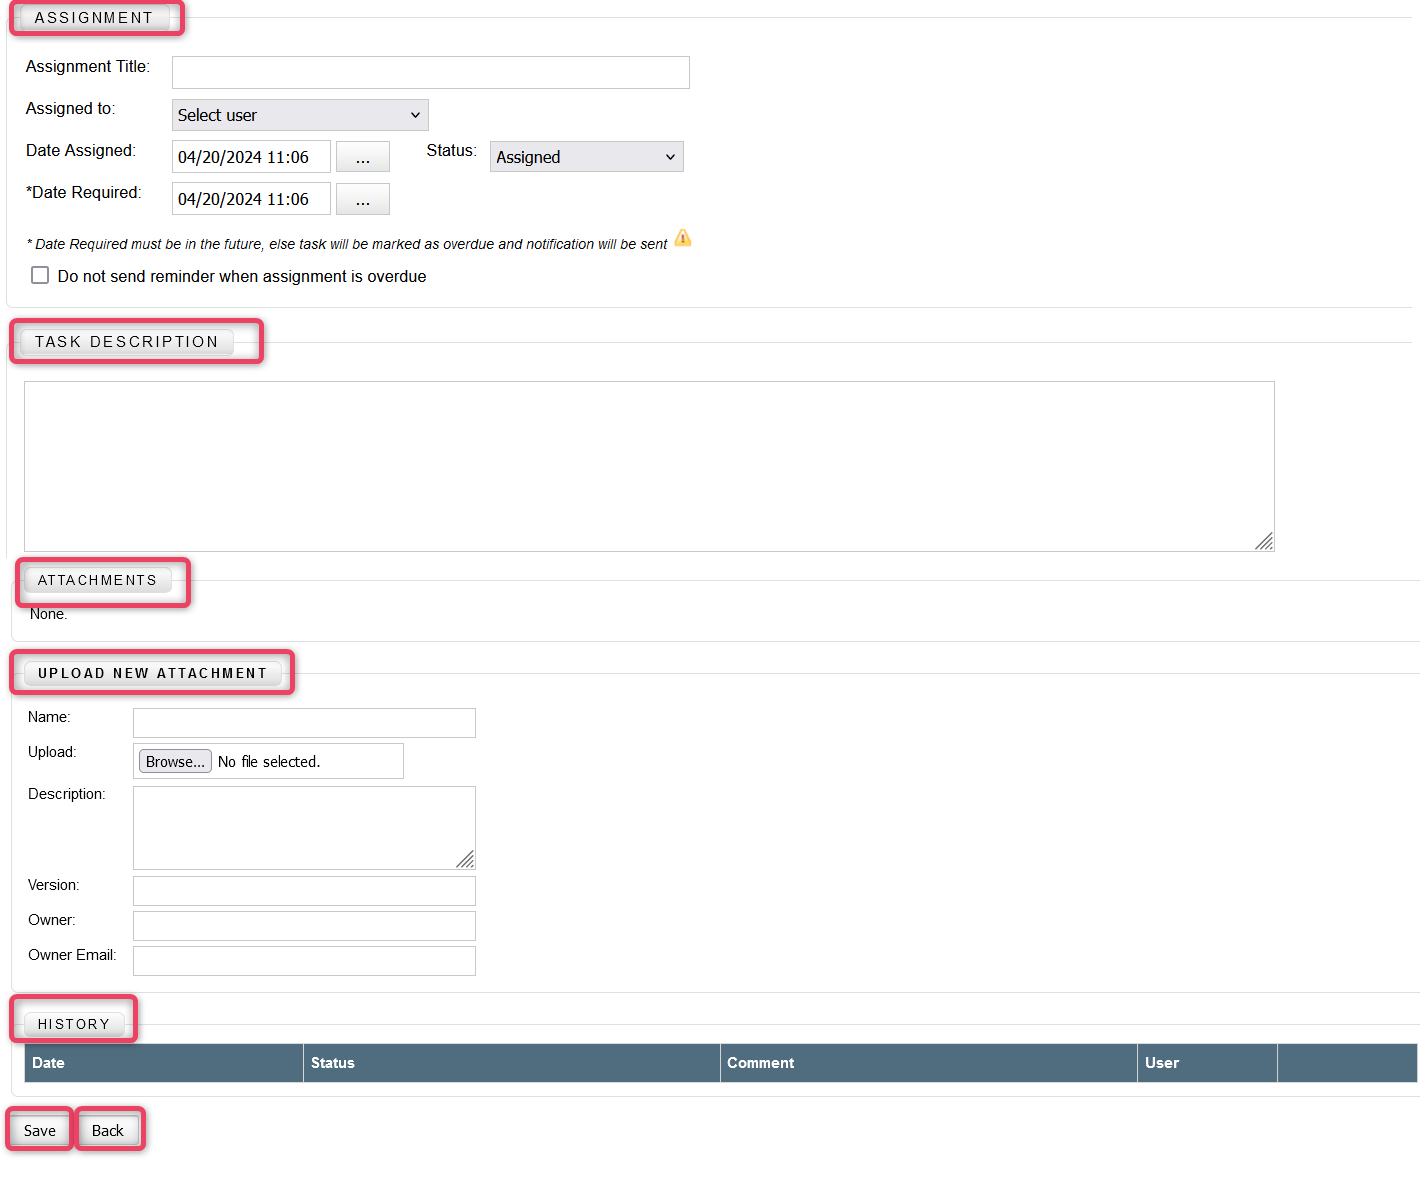
-
To save the Incidents, click the Save button and close this screen.
- To delete this record, click the Delete button and close this screen.
- To close without any Incidents, click the Close button.
33.4.6 Reminder
-
The reminder action open a new screen allowing users to set reminders and notify people about the risk tracker at specified time. Select an risk tracker and click the Reminder button to view the screen shown below.
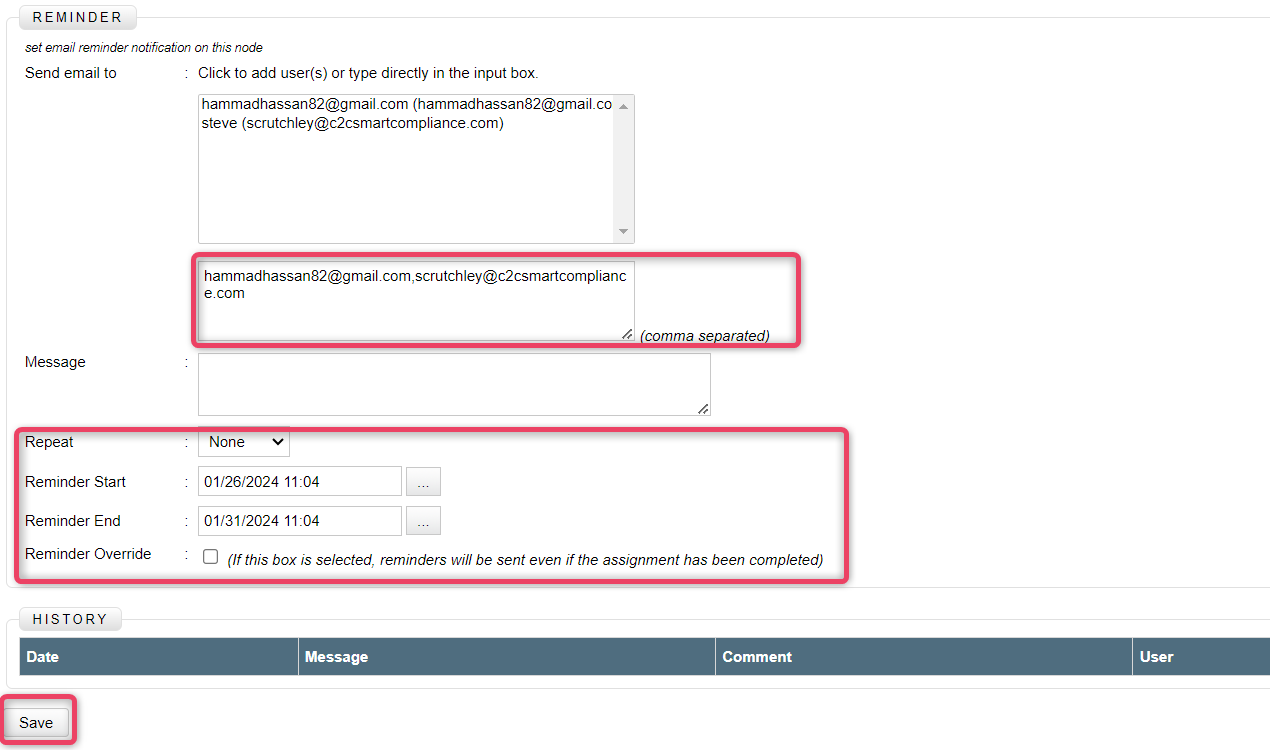
-
Specify required information.
- Select when to repeat the reminder, reminder start and reminder end dates and also choose whether or not to send the reminder when the assignment is completed.
- Once done, click the save button to save the reminder.