New BIA (Simple)
18. New BIA
New BIA feature allows users to create and manage new BIA in the My Risk Assessor app. With the New BIA feature, users have the ability to perform tasks such as creating new BIA profiles, providing relevant information, and managing their interactions within the app. This feature helps users organize and keep track of BIA more effectively.
- From the My BIA module, click New BIA to view the screen shown below.
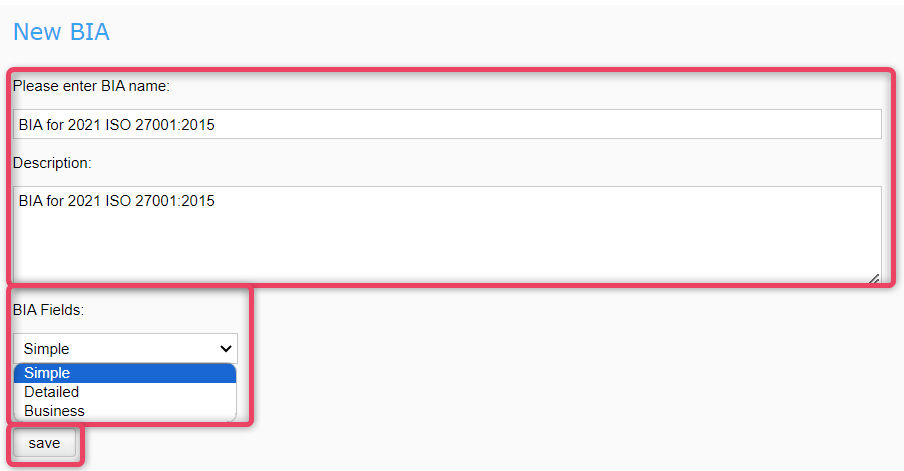
- Enter the BIA list name and some adequate description.
- Click Save to create BIA record and move to the next screen as shown below.
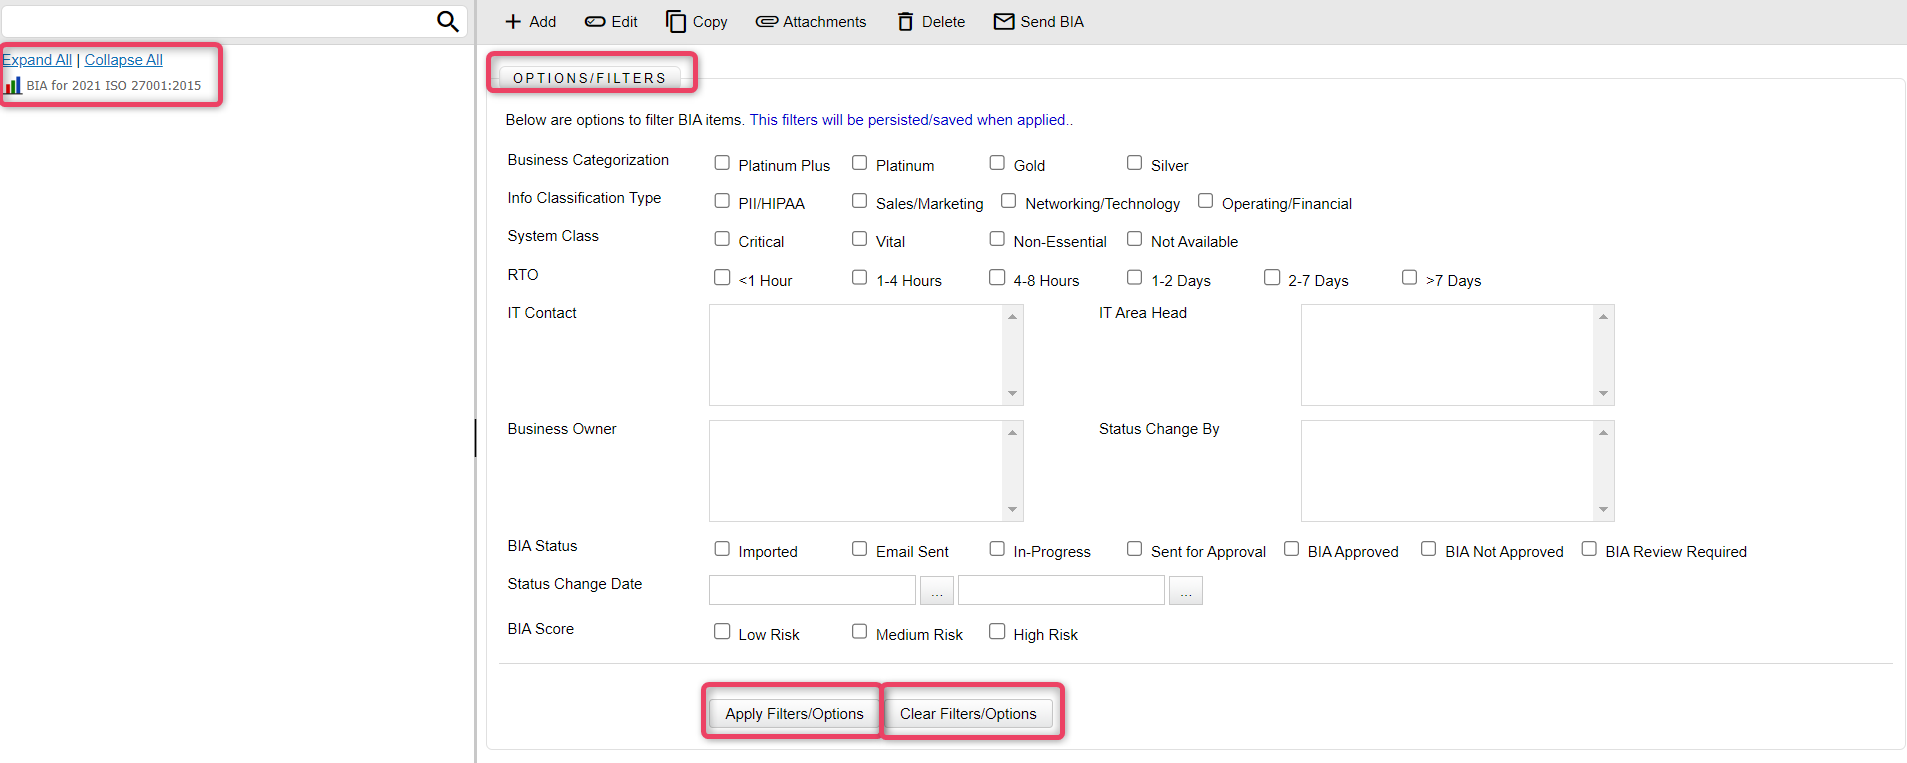
- Select the appropriate filters and click the Apply Filters/Options to apply the selected filters.
- To clear the filters, click the Clear FIlters/Options.
Note
- You can edit the BIA List name from the listing screen as well by selecting the BIA List and do a Right Click and choose Rename
New BIA/Impact Option
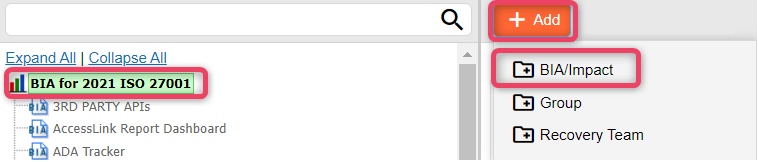
- Click the Add button from the top navigation bar, and choose the BIA/Impact option to view the screen shown below.
18.1 General Section
-
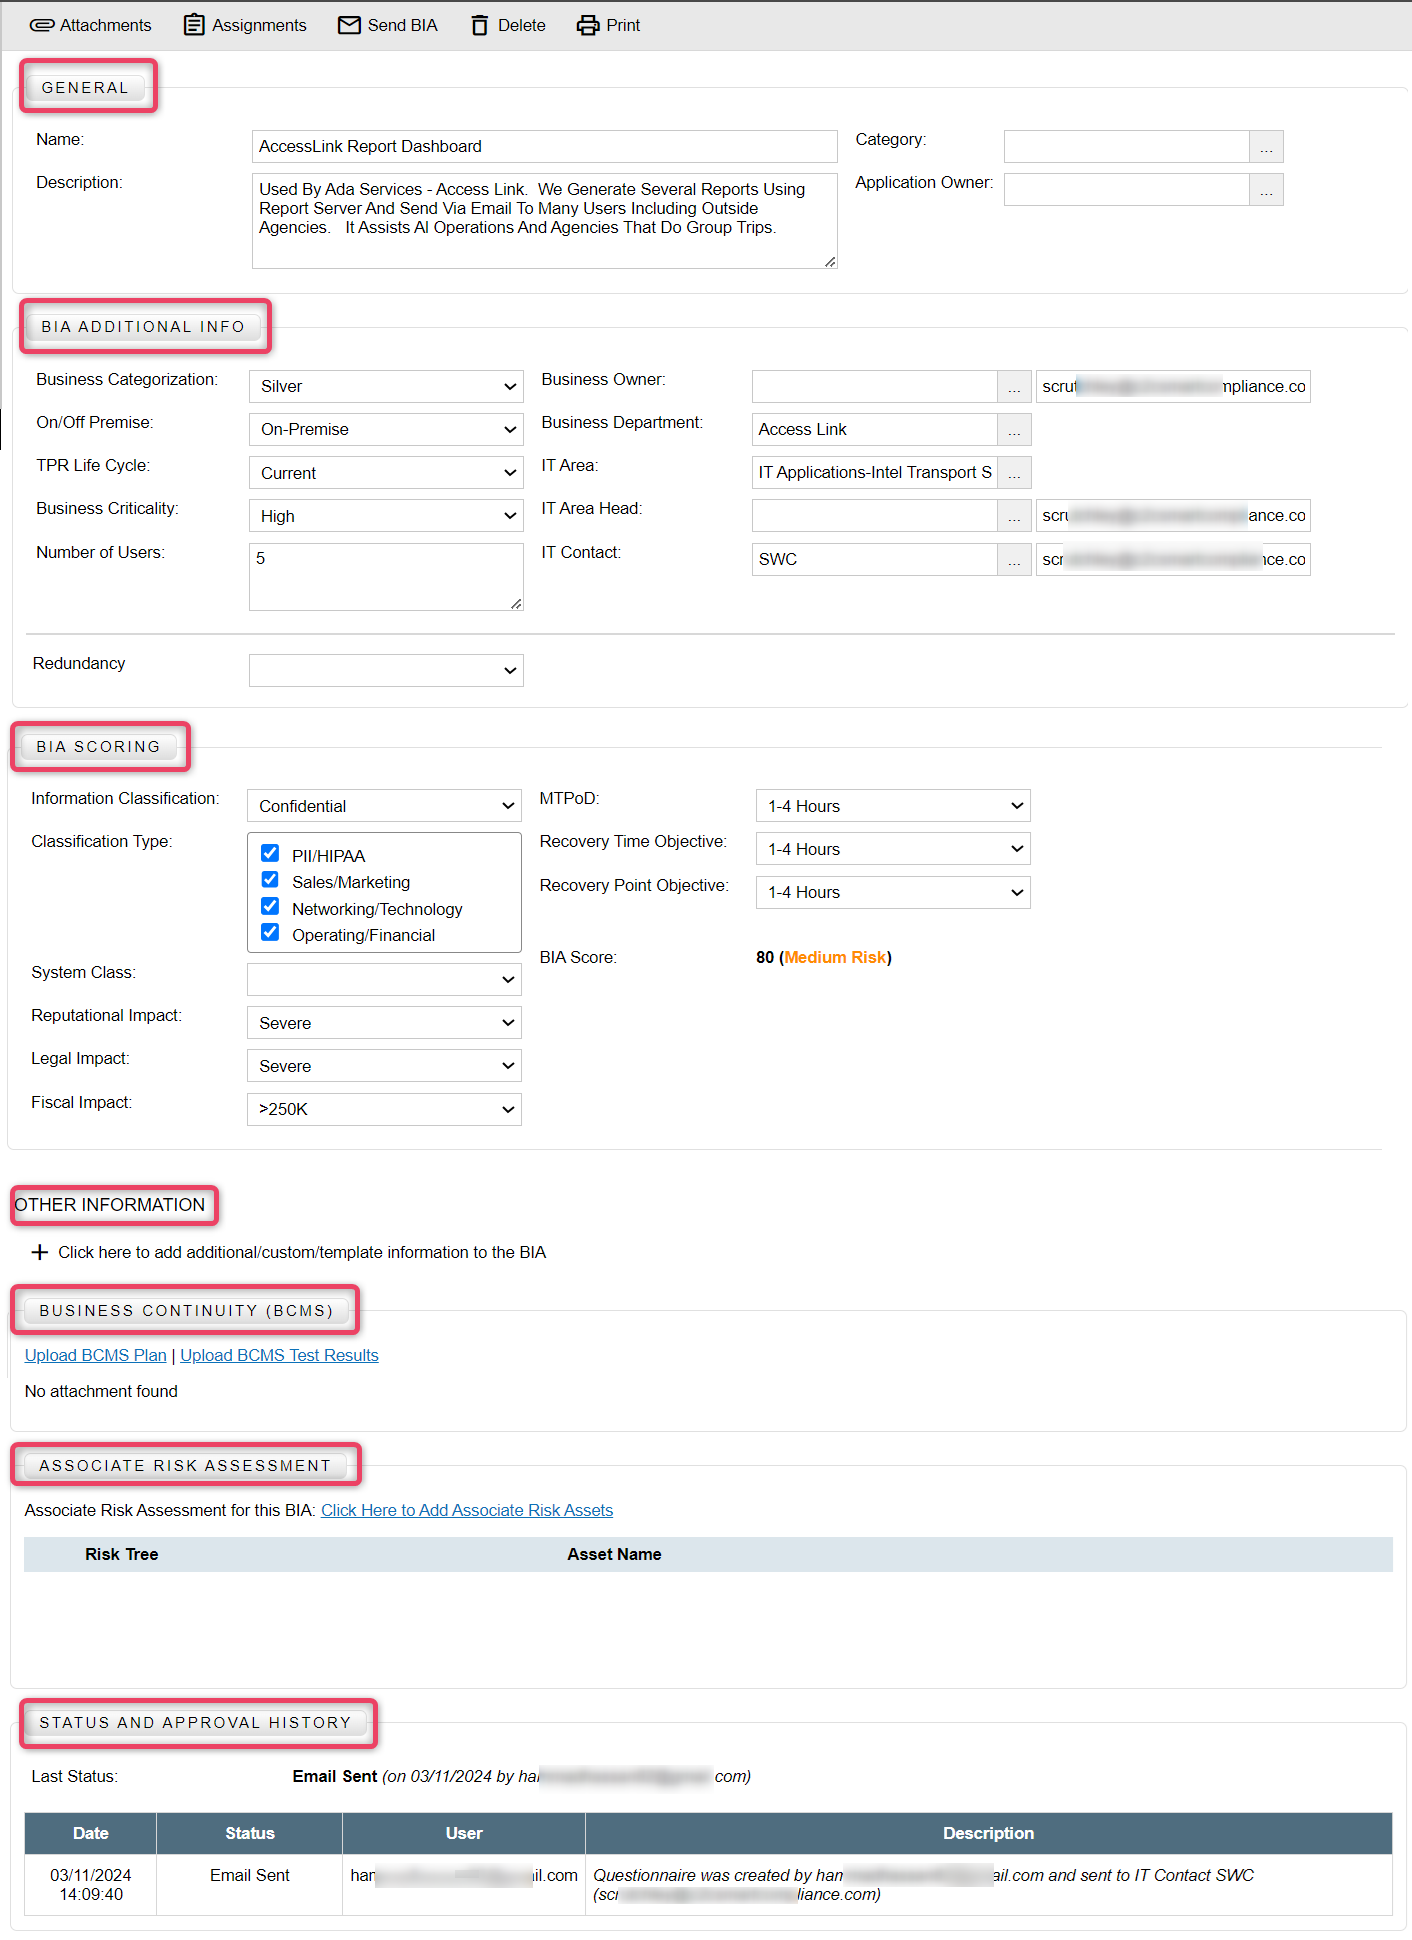
In the General section, general information about the BIA/impact is maintained.

-
Fill in the relevant information against the available fields.
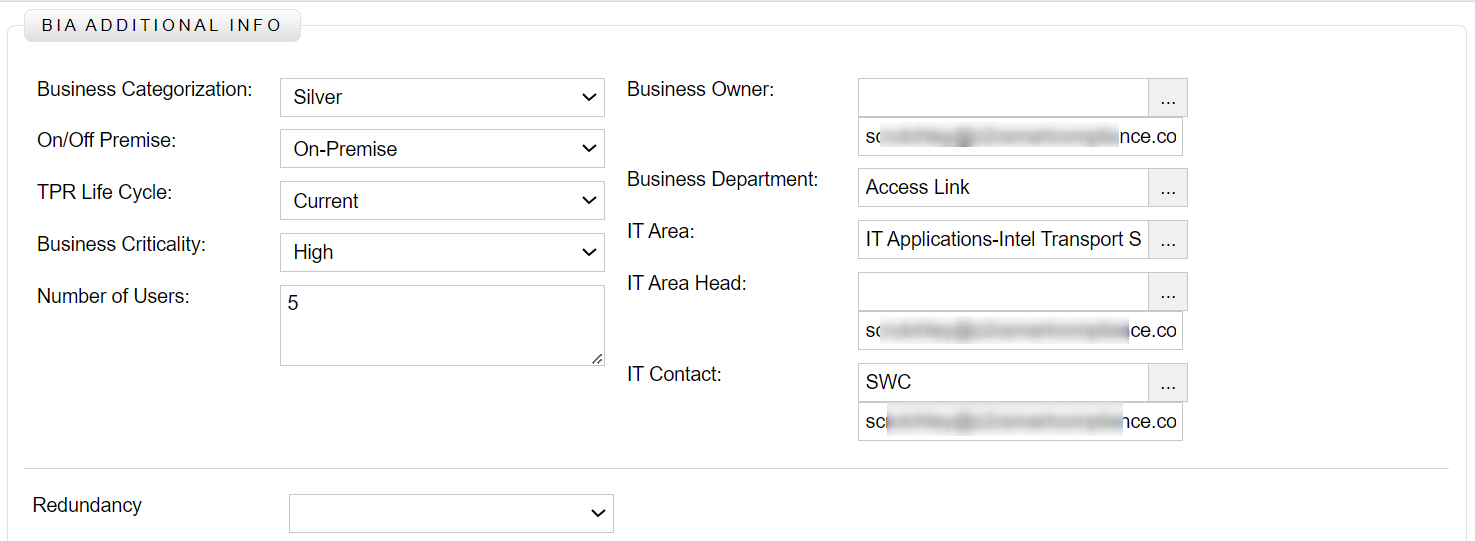
18.2 Additional Information Section
-
In the Additional Information section, the additional attributes are maintained related to the BIA/impact.
-
Fill in the relevant information against the available fields.
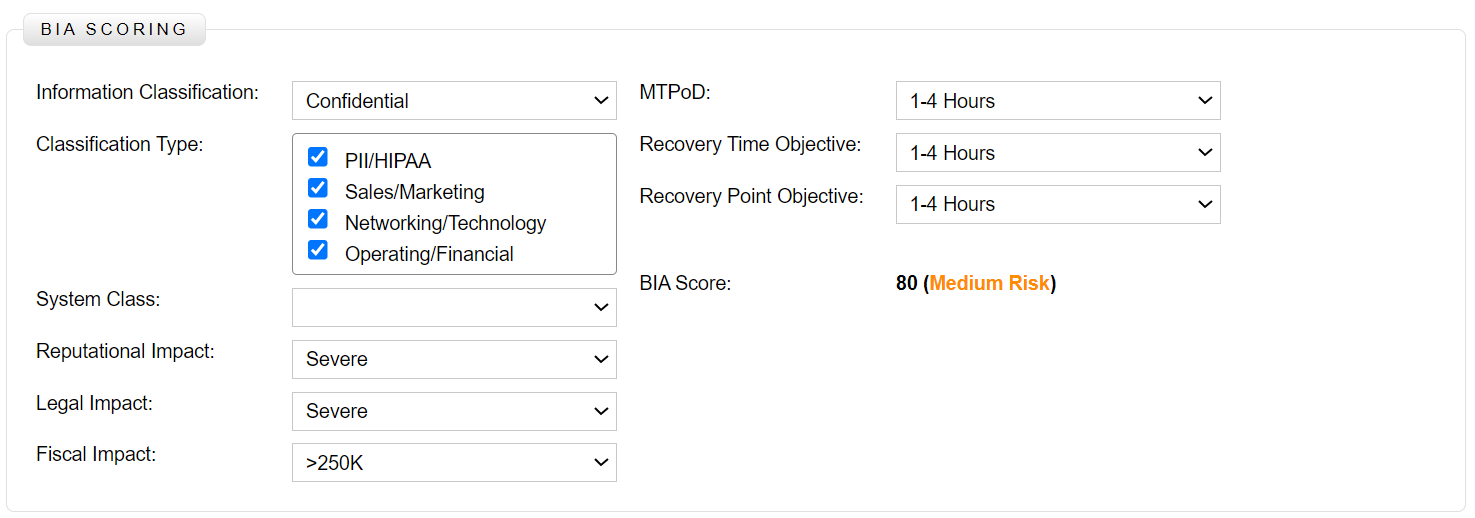
18.3 BIA Scoring Section
-
In the BIA Scoring section, you can select appropriate impact related attributes to calculate the correct BIA Score.
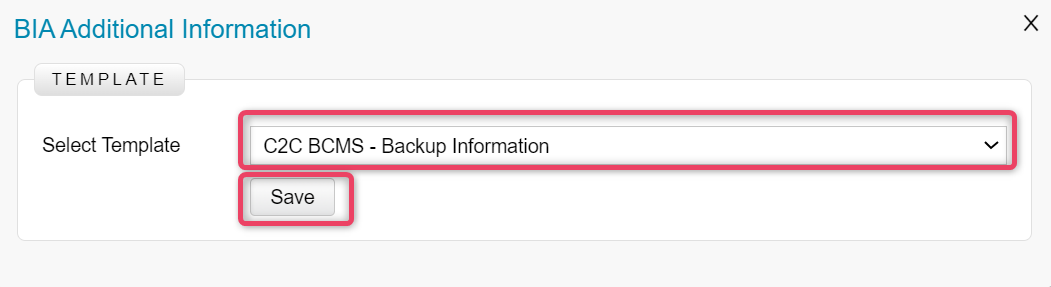
18.4 Additional Information Section
-
In the Additional Information section, you can select a tracker information template and then provide details in accordance to the template.

-
Click the button to view the template choose screen as shown below.
-
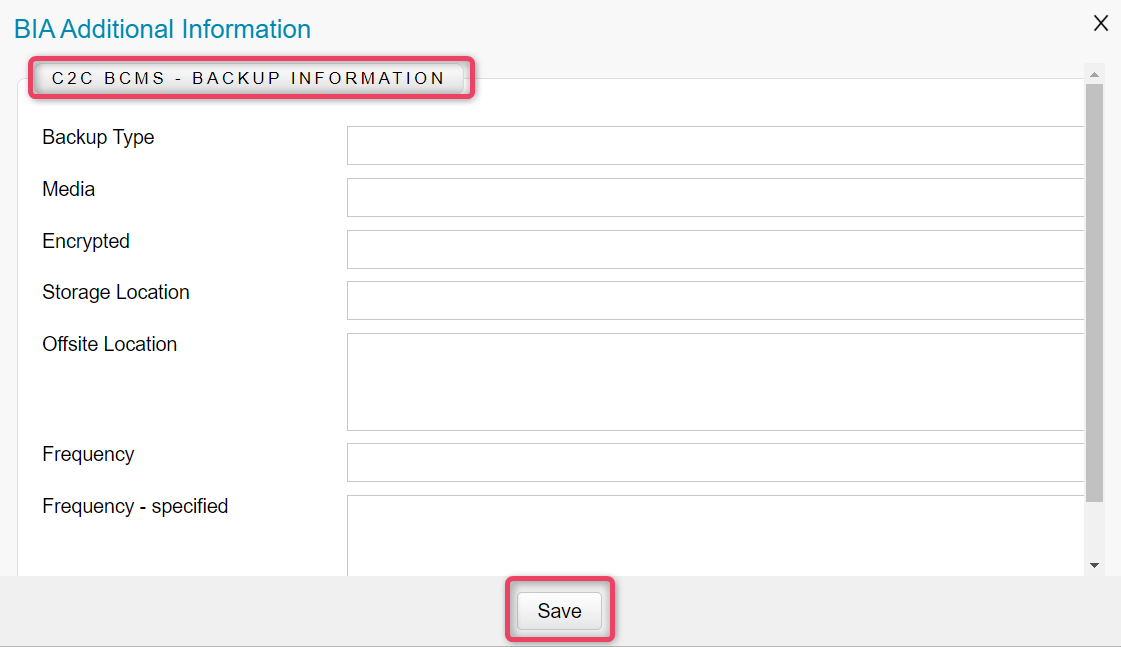
Choose the appropriate template and click the Save button to view the screen as shown below.
-
Fill in the appropriate information in the template.
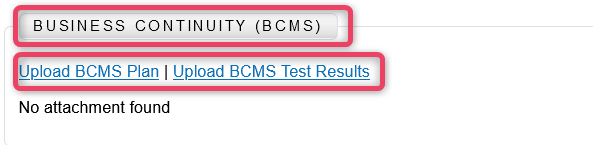
18.5 Business Continuity Section
-
In the Business Continuity section, you can upload an attachment for BCMS Plan and BCMS Test Result.
-
The attachment action allows to attach documents to the BIA. Click the Attachment button to view the screen shown below.
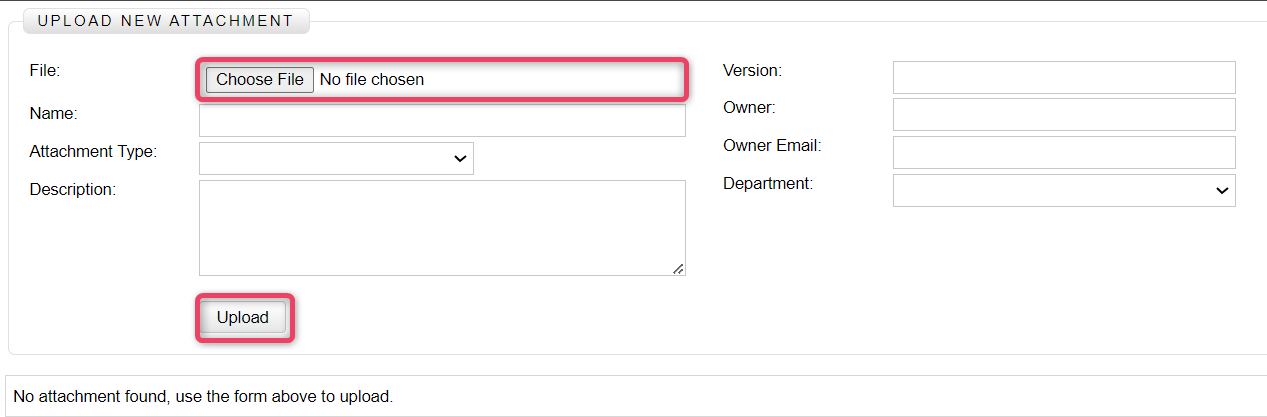
-
Select the file to upload as attachment and fill-in the other information.
- Click the Upload button to save the changes and return to the previous screen.
18.6 Associate Risk Assessment Section
-
In the Associate Risk Assessment section, you can associate a risk assets with the BIA/impact.
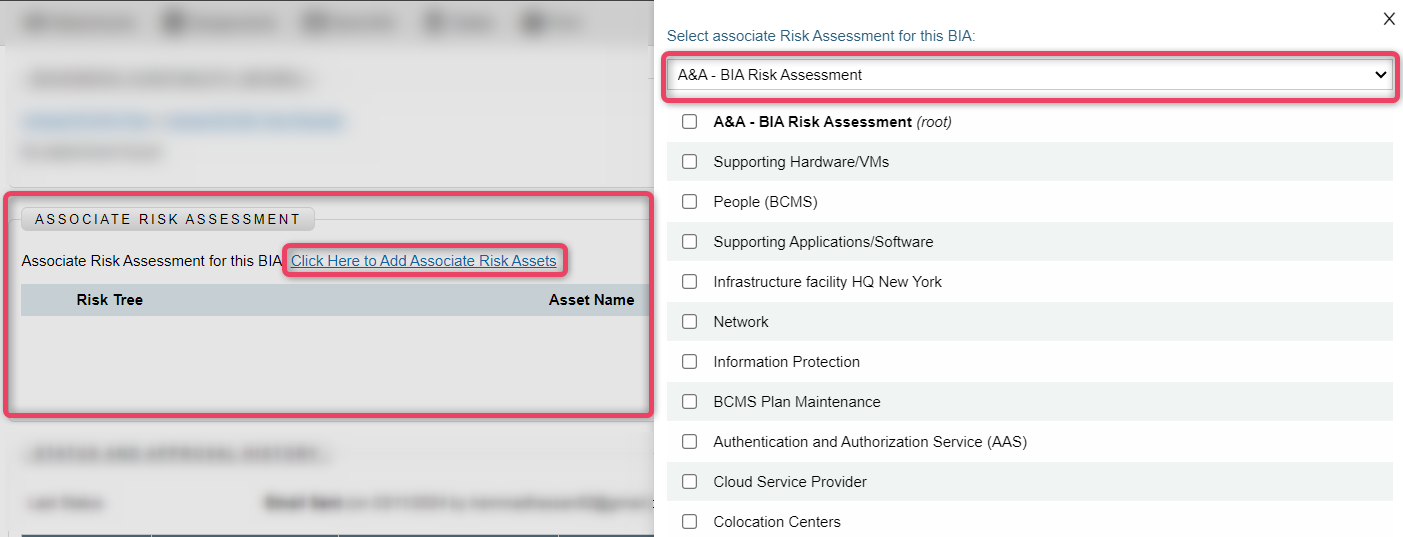
-
Once associated, the risk assets will be listed in the grid as shown below.

18.7 Status and Approval History Section
-
In the Status and Approval History section, all changes made to the BIA/impact are recorded for a secure audit trail. See the screen below for details.

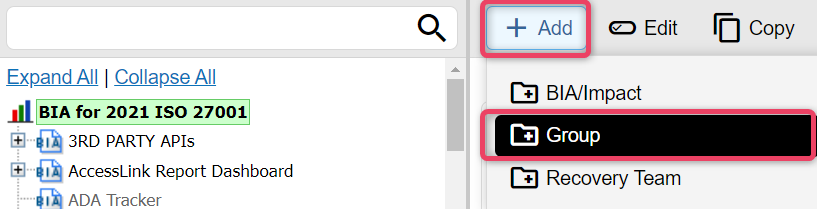
Add Group Option
18.7 New Group
-
Click the Add button from the top navigation bar, and choose the Group option to view the screen shown below.
-
Enter appropriate details to create the group. Grouping helps to categorize your BIA entities.
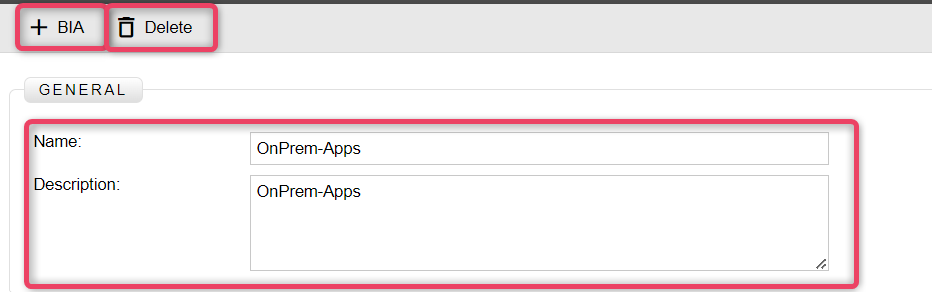
-
To create a new BIA inside the newly created group, click the +BIA button.
- To delete this group, click the Delete button.
Add Recovery Team Option
18.9 New Recovery Team
-
Click the Add button from the top navigation bar, and choose the Recovery Team option to view the screen shown below.
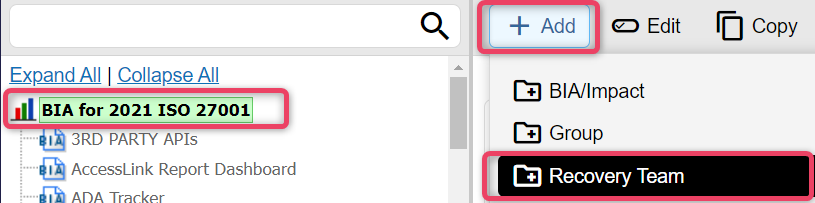
-
Enter appropriate details to create the recovery team record.
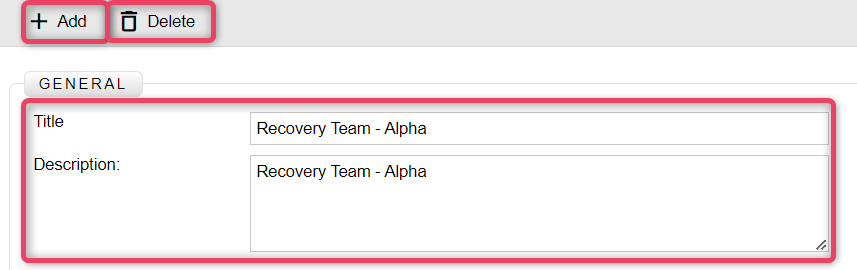
-
To create a Recovery team member record, click the +Add button.

-
To delete the whole node, click the Delete button.